How to photograph an apartment for a listing with a smartphone: 12 rules
A buyer scrolls a feed of listings on their phone and decides in a second: open it or keep scrolling. They decide by the first photo. Good apartment photos don’t need a professional camera - a modern smartphone, daylight and half an hour of preparation are enough to make a listing look better than most of its neighbours. Below are twelve rules for shooting: preparation, the shoot itself and the order of shots.
Why photos decide more than text
Listing text is read by people the photos have already hooked. Dark, crooked, vertical shots with things lying around cut buyers off before they even learn the price and the area. Photos that don’t match reality have the opposite effect: someone comes to a viewing, sees a different apartment and leaves without bargaining. The aim of the shoot is to show the apartment at its best - but as it really is.
For a realtor, good photos are also a matter of reputation. The owner compares your listing with other agents’ listings of the same apartment, and buyers remember the agency whose apartments are always shot neatly.
What else makes a listing sell besides photos - the headline, price, text and the first days after posting - we covered in the article on a listing that gets calls. Here it’s only about the shoot.
Preparation: rules 1-4
Half of a good photo is made before you take out your phone. Preparation takes half an hour and pays off with every viewing.
1. Shoot in daylight
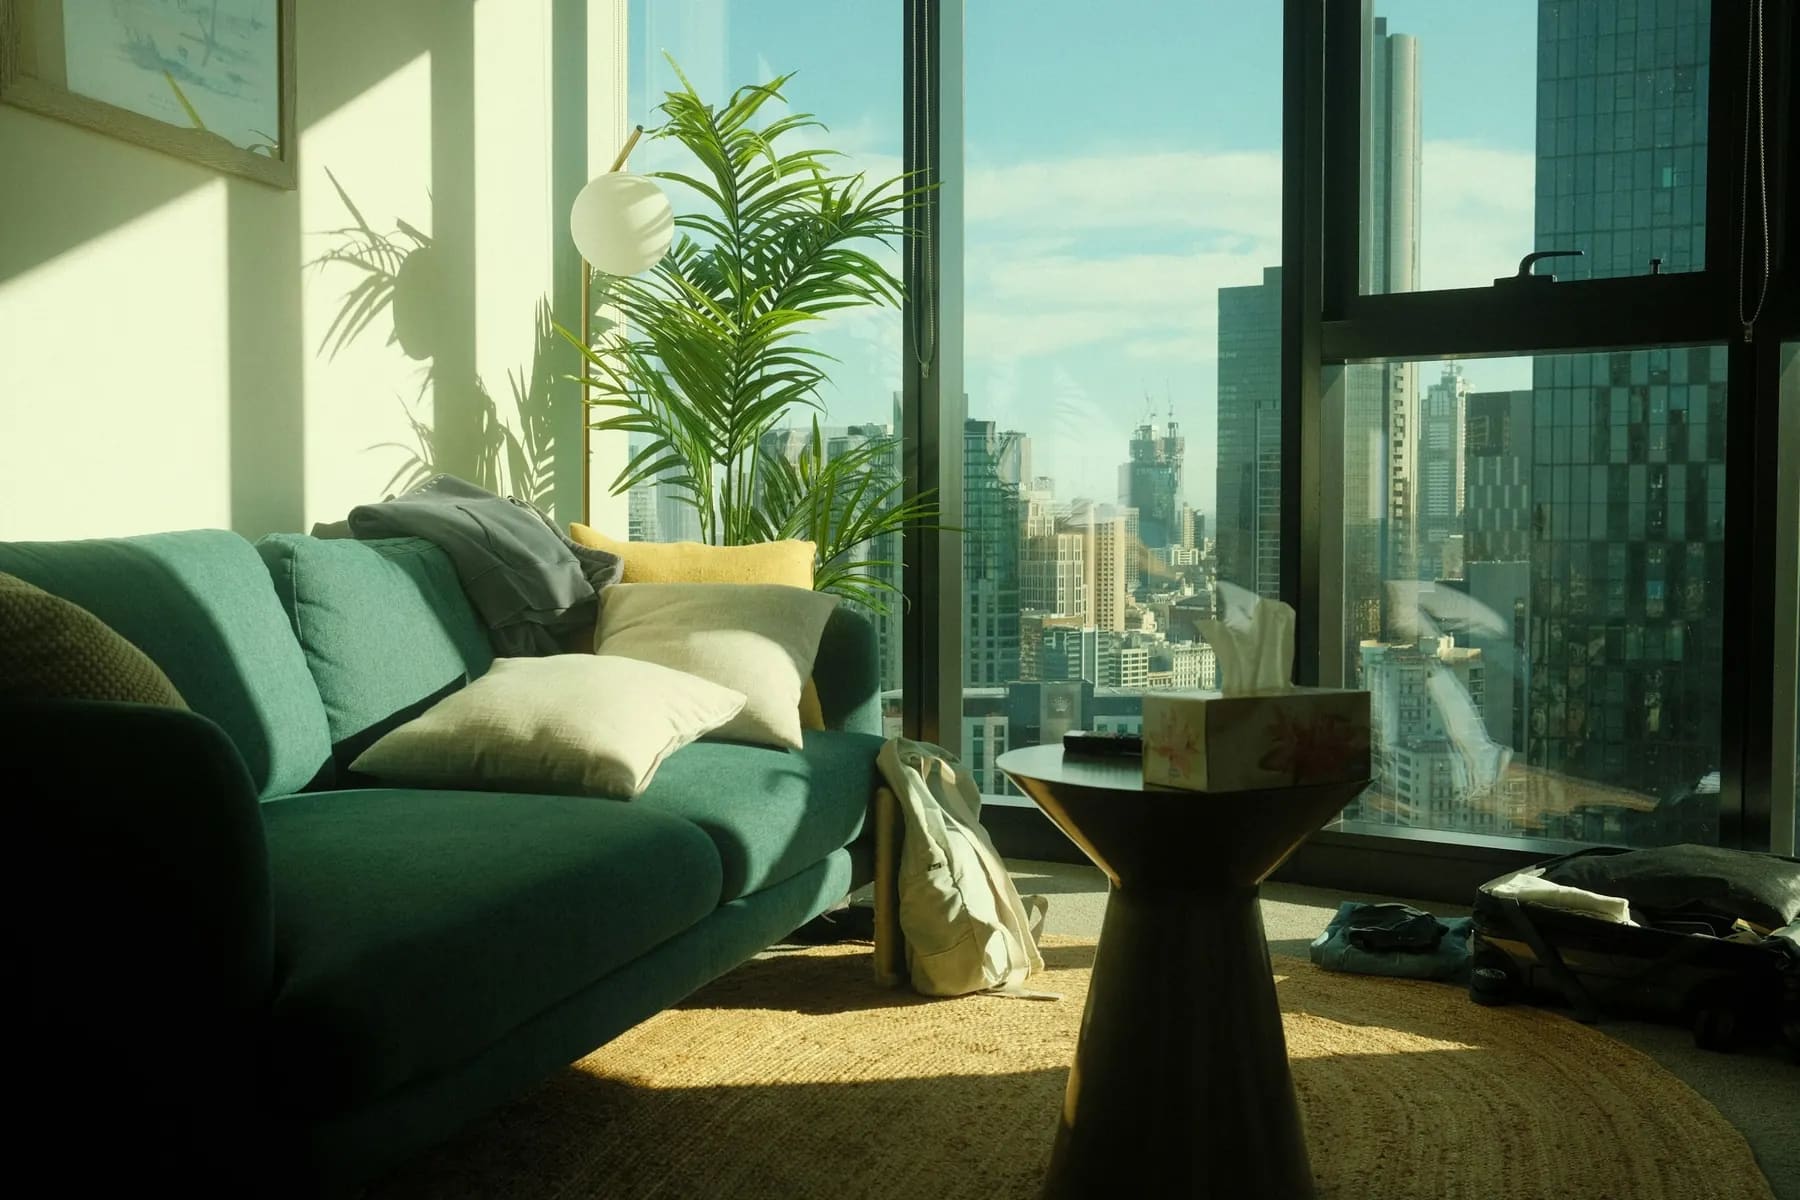
The best time is the bright part of the day when the sun isn’t shining straight into the lens. In the evening rooms look smaller and yellower in photos, and the flash creates harsh shadows and glare.
2. Clear away clutter
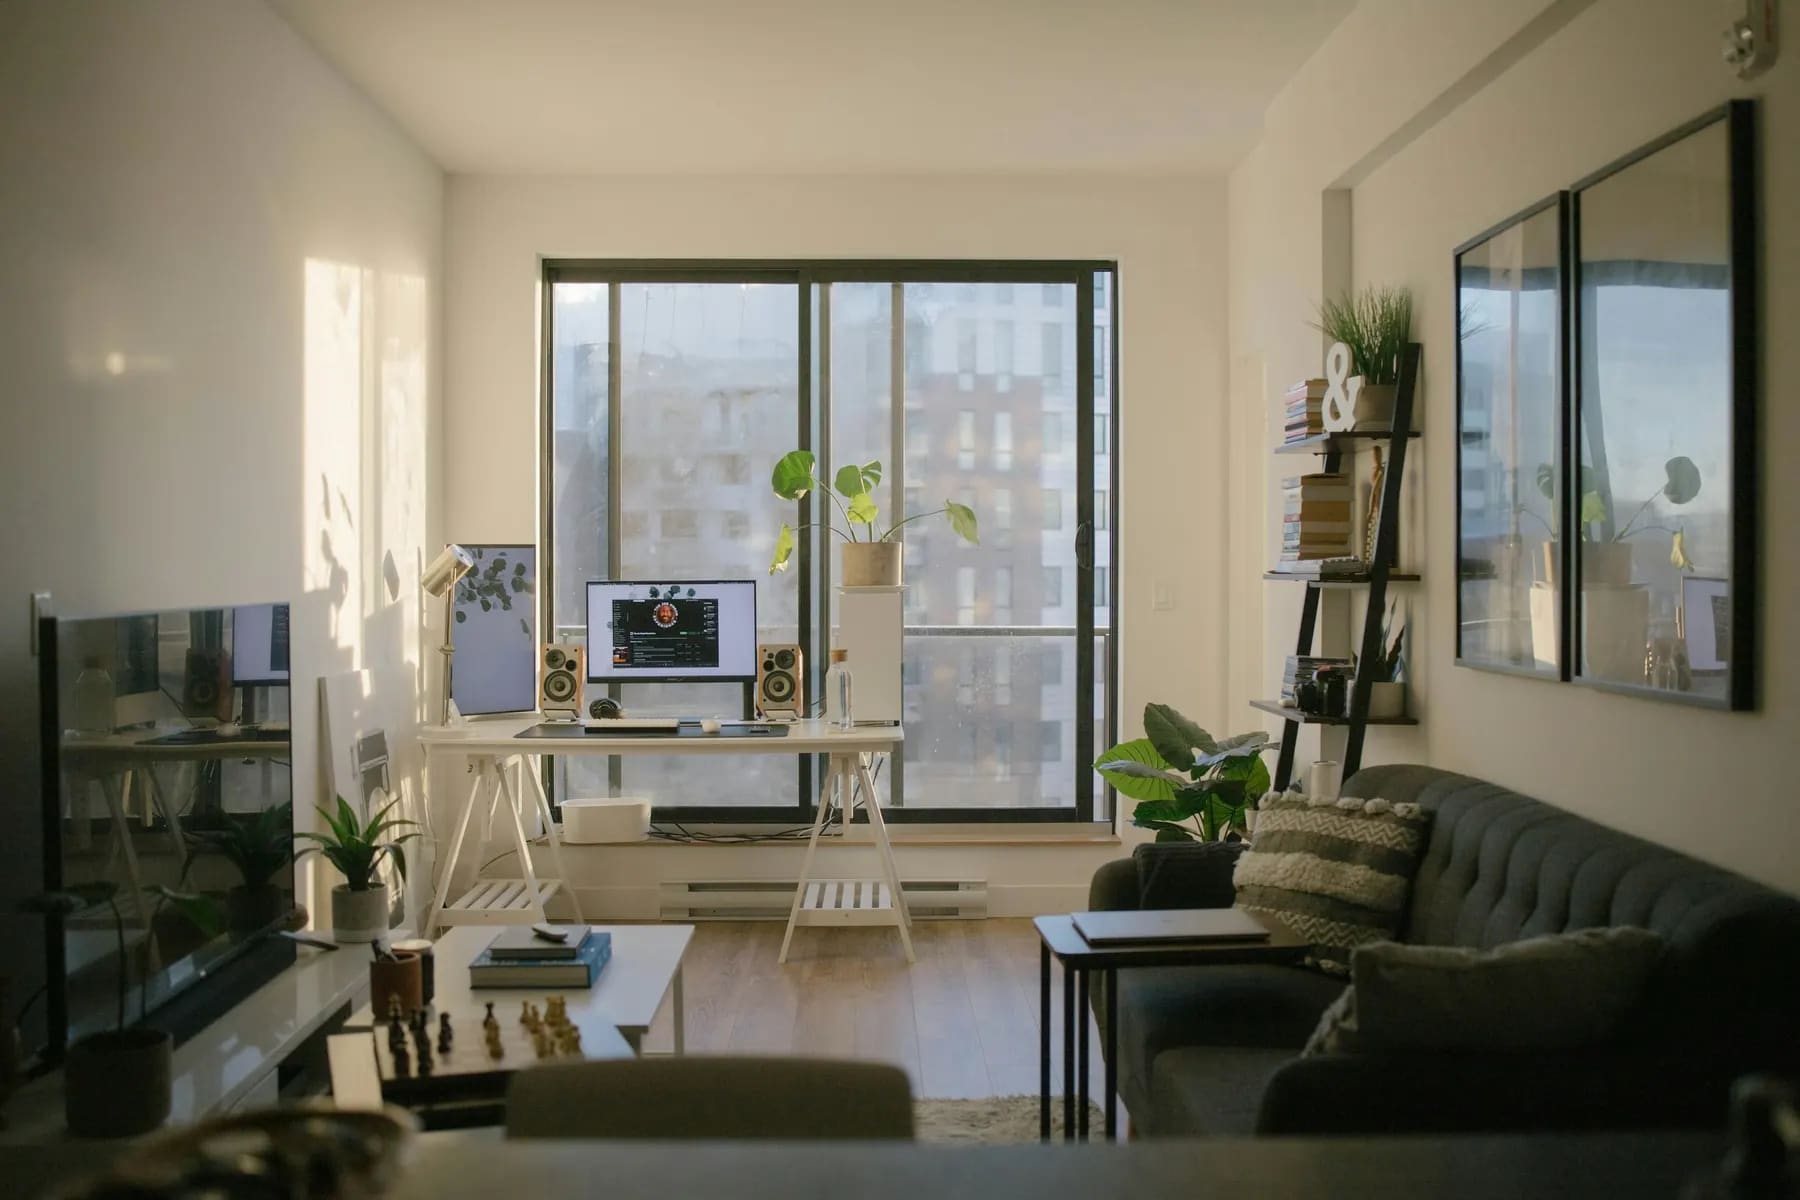
Dishes in the sink, shoes in the hallway, clothes on chairs, magnets on the fridge, cables - everything you don’t notice in real life jumps out in a photo. Clear surfaces make a room look bigger.
3. Remove personal items
Family photos, religious items, children’s drawings, documents on the table. The buyer should picture themselves in the apartment, not look at someone else’s life. It’s also a matter of the owners’ safety.
4. Open the curtains and turn on the lights
Even in daytime, turn on the lights in dark areas: the hallway, bathroom and kitchen. Open curtains and blinds fully. The light is more even and the apartment looks lived in.
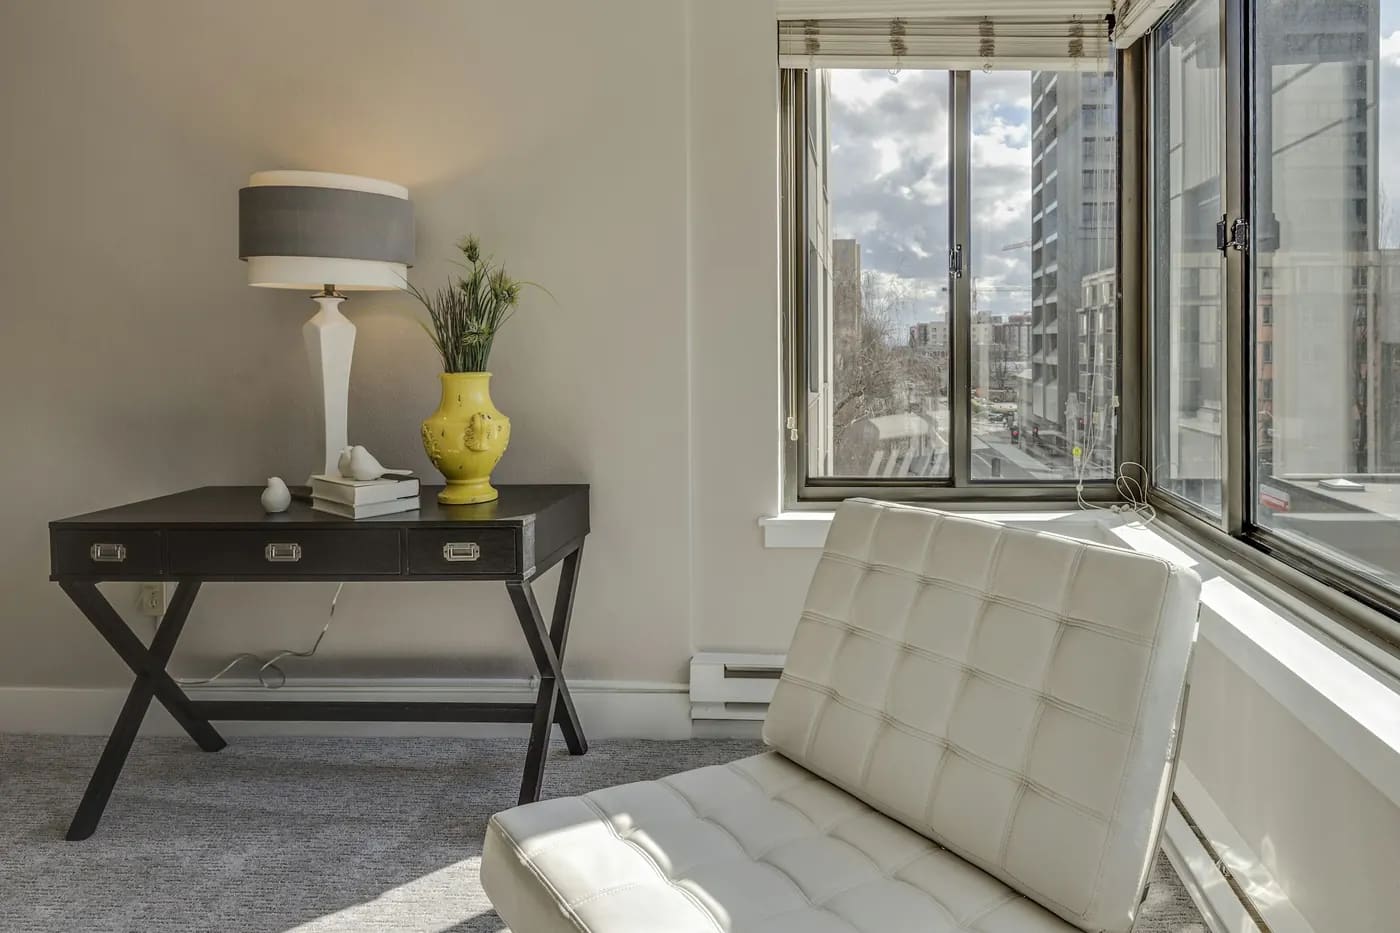
The shoot: rules 5-9
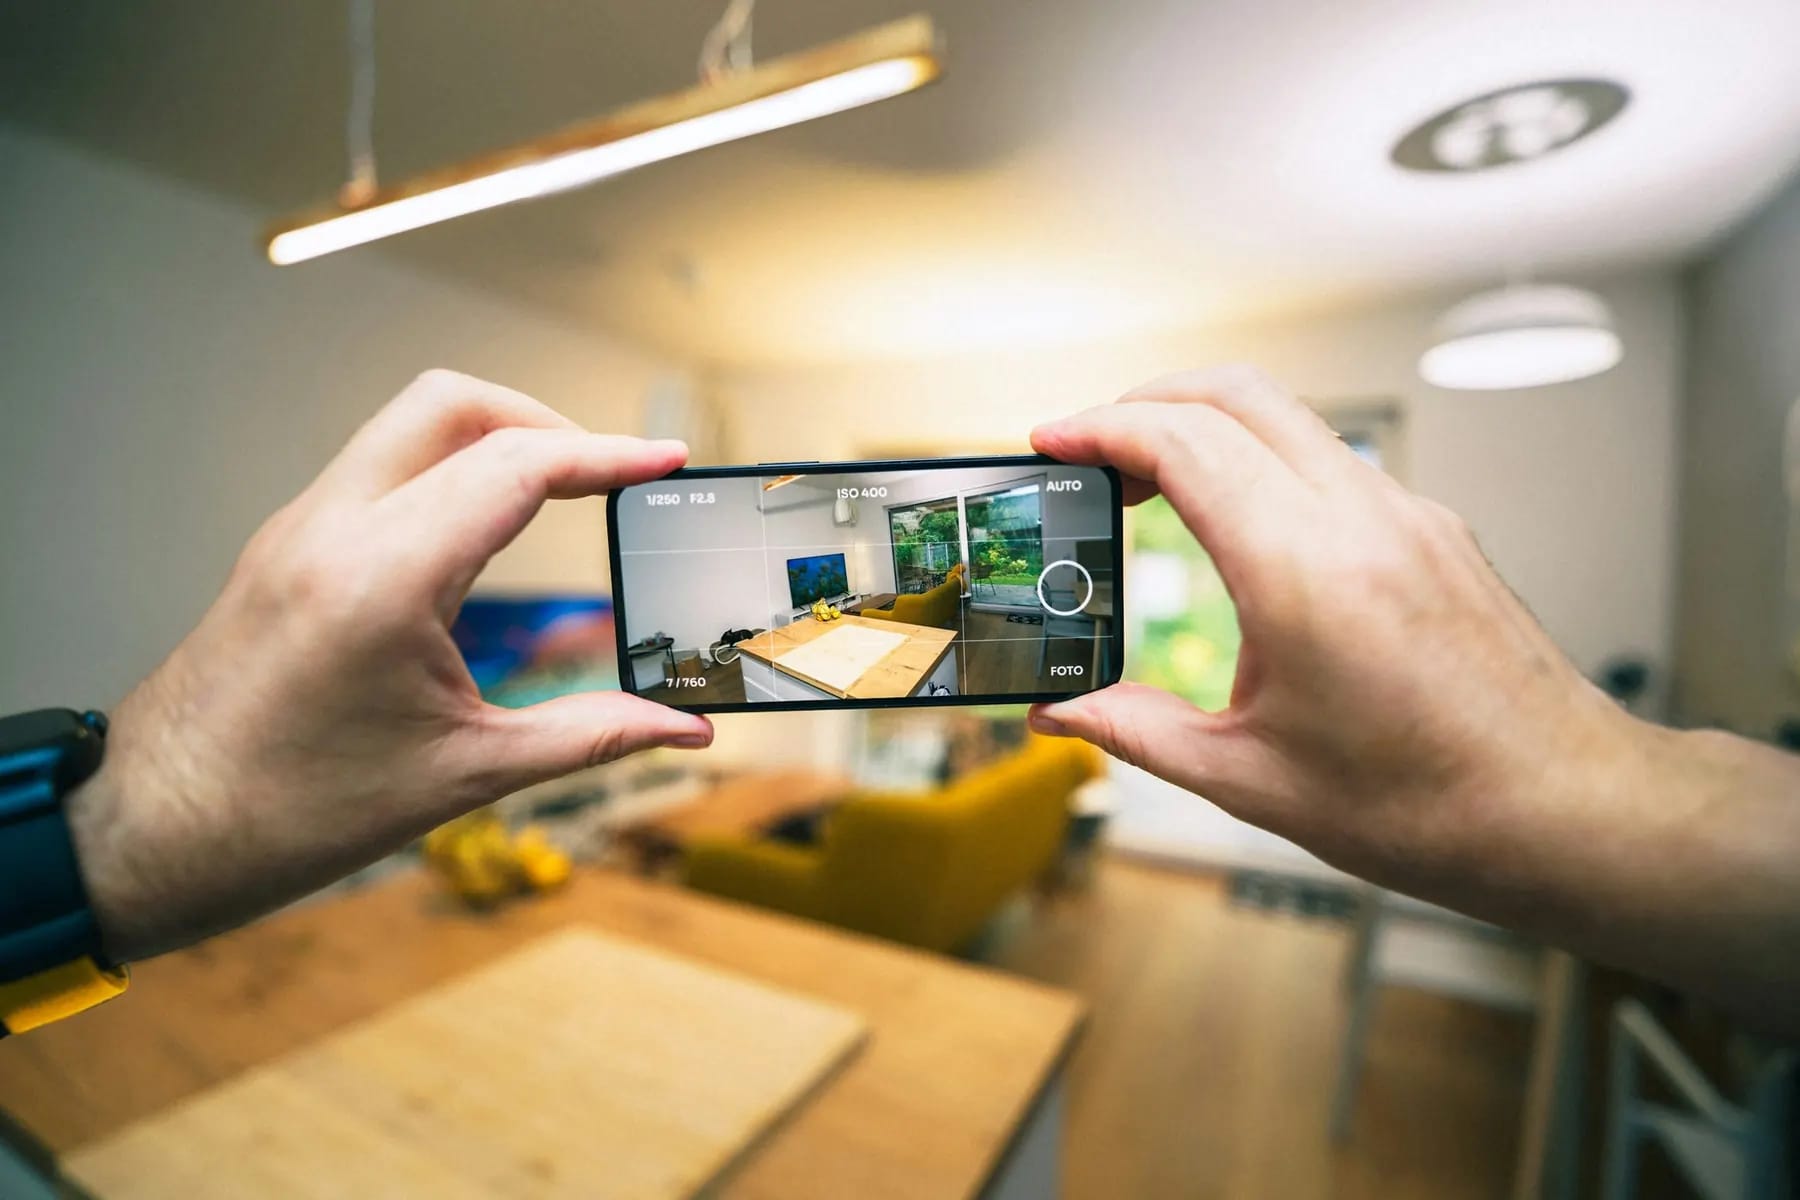
5. Hold the phone horizontally
Listing feeds and websites show horizontal images. A vertical photo of a room gets cropped or surrounded by empty margins and looks cramped.
6. Camera at chest height
From eye level you see too much floor; from waist level, the ceiling. Chest height gives a natural perspective - the way a person at a viewing will see the room.
7. Keep verticals straight
Leaning walls and doorframes make the apartment look “drunk”. Turn on the grid in the camera settings and line up with a room corner or a doorframe. Don’t tilt the phone up or down.
8. Shoot from the corner of the room
From a corner you get two walls and the window in the frame, and the room reads as a whole. Wide mode helps in small spaces, but don’t overdo it: buyers notice strong distortion at the edges and see it as deception.
9. No filters or heavy editing
It’s fine to adjust brightness, straighten the horizon and crop the edges. Filters, an artificial sky in the window and “enhanced” colours create expectations the apartment won’t live up to.
The order of shots: rules 10-11
10. The first shot is the strongest
The listing’s cover is the best room or view. Not the building’s facade, the entrance, the bathroom or a document. The cover should show an apartment that makes people want to open the listing.
11. Then the visitor’s route and the plan
After the cover, shots follow the way a visitor walks through the apartment. At the end come the building, the courtyard and the plan. A buyer who has scrolled through all the photos should understand the layout without calling to ask “where’s the kitchen”.
The order of shots in a listing
A photo set for an apartment, from cover to floor plan
CoverShot 1
The brightest, most spacious room or a strong view - the reason people will open the listing.
Living room and bedroomsShots 2-6
Each room from two points: from the doorway and from the opposite corner.
KitchenShots 7-8
The work area and the dining area, appliances visible, worktop clear.
Bathroom and hallwayShots 9-10
Dry, lid down, towels put away. The hallway - if it has a wardrobe or storage.
Balcony and the viewShots 11-12
Shoot the view at eye level, without the insect screen or glare on the glass.
Building, entrance, courtyardShots 13-15
The facade, the entrance, the lift, the playground and parking - if they’re in good shape.
Floor planLast shot
Even a neat hand sketch with room sizes answers the buyer’s main question.
Honesty: rule 12
12. Don’t hide flaws
A crack above the window, old plumbing, a view onto the wall of the next building - the buyer will see all of it at the viewing. If you hid a flaw by cropping, they’ll arrive, see it themselves and stop trusting the apartment, the seller and the realtor. If the flaw is shown honestly, it gets discussed as a bargaining point rather than a deception.
Mistakes and how to fix them
Scroll the table sideways
| Mistake | How to fix it |
|---|---|
| Dark evening shots | How to fix itReshoot in daylight, turn on the lights in every room |
| Vertical photos | How to fix itHold the phone horizontally, turn on the grid |
| Leaning walls | How to fix itLine up with a corner or doorframe, don’t tilt the phone |
| The photographer reflected in a mirror | How to fix itShoot the mirror at an angle or from the doorway |
| Clutter and personal items | How to fix itClear all surfaces before the shoot |
| Five shots of one room | How to fix itKeep the two best, add the missing rooms |
| The cover is the facade or entrance | How to fix itPut the brightest room first |
| No floor plan | How to fix itAdd a plan or a neat sketch with dimensions |
Video and shooting for rentals
A short walk-through video is a good addition to photos, but not a replacement. Shoot it horizontally, slowly, in one pass along the same visitor route, with no music and no sharp turns. A minute to a minute and a half is enough: the buyer needs to understand how the rooms connect, not watch a film. Video especially helps people searching from another city who can’t come to the first viewing.
For rentals the rules are the same but the emphasis differs. A tenant wants to see that the apartment is ready to move into: furniture, appliances, air conditioners, wardrobes, a place to work. Shoot them as carefully as the rooms. For the owner, these photos also become part of the inventory: they show the condition in which the apartment was handed over to the tenant.
After the shoot: where the photos go
Pick the best shots and put them in order before posting, not while posting. Check every photo on a phone: that’s how most buyers will see it. Delete duplicates, blurry and accidental shots - extra images add no information and only tire people out.
- Keep the originals separately: you’ll need them for other sites and your own website.
- Name the folder after the property so photos don’t get mixed up with neighbouring apartments.
- A reshoot after renovation or new furniture is a reason to refresh the listing too.
When is it worth calling a professional photographer? When the apartment is expensive and its buyer compares dozens of strong listings, when the light is difficult or the rooms are very small, when you need a quality sunset view. Otherwise a smartphone and the twelve rules above give a result that’s good enough, and the time saved is better spent on the first calls and viewings.
For an agency it’s more convenient when photos live on the property card rather than in an agent’s phone gallery. Then you don’t have to ask an employee who has left for them, and the agency storefront takes the photos and description straight from the card: publish the property and it’s on the site with the same photos, take it off the market and it disappears.
The shooting rules reflect listing preparation practice, not research results. The number of shots in the scheme is a guide for a typical apartment: a studio needs a smaller set, a large apartment more.